Fall Wedding Series

Check out my weekly posts featuring projects from my wedding last fall!

My Etsy Shop

Check out the items I have for sale in my shop!

Most Repined on Pinterest

Check out my most popular pin on Pinterest, a cupcake stand!

Tuesday, December 21, 2010

Project of the Week: Santa Birthday Cake

Sorry I haven't posted anything in awhile. The holidays are always so busy, but this year something extra special happened!

Meet my new niece, Ms. Natalie Grace! Born 12-15-10!

Santa Baby!

I'm a very happy Auntie Em! Now I have two beautiful nieces!

But anyways, I have been working on a couple of projects over Christmas. One was a birthday cake! I also did some Christmas cookies that I will post next week.


My boyfriend's mother turned 50 on December 11th so I knew she needed a special cake. I decided to use my favorite cake pan... the giant cupcake! After some research I decided I would make Santa stuck in a chimney out of fondant!

I decided to set up my decorating station in the
living room so I could watch Christmas movies!

First I molded the chimney.

I added a ball on top for Santa's body

Covered the chimney with red fondant

Added red fondant to the body then used toothpicks to make
legs out of fondant.

Added a belt

Added the belt buckle, shoes and white part of Santa's
costume!

Put some texture to make it look like bricks

Giant Cupcake! I love this pan!

Making sure Santa would fit!

Iced the bottom first


Added Santa and made snow all over the top!


I hope everyone is having a happy holiday!! I know I am! :)

♥ Emily

Monday, December 13, 2010

Christmas Ornament Giveaway Project

I know it's been awhile since I have posted some projects, but it's not because I haven't been busy working on any! I just had to wait until they were finished to post them! 

At the end of October, I had a giveaway for a hand painted ornament from Pottery Works. Paulette from my work won the contest. After talking with her a bit, it became quite obvious what the theme of her ornament would be. She loves Snoopy and the rest of the Peanut gang, so I knew I had to do an ornament based on the Charlie Brown Christmas Special. It took awhile to actually get the ornament because they didn't have the ornaments for a few weeks. Then I had to paint it. Then I had to return it to Pottery Works and have them glaze and fire it. I was finally able to give Paulette her ornament last Friday!

Here was my inspiration for the ornament:


I went to Pottery Works to get the ornament and paint for my project. You can stay and paint the ornament at Pottery Works, but I always like to bring it home so I can do it on my time. 


My Supplies. The cups have the paint in them.

The blank ornament.

Now, I have a confession to make. I tried to trace the picture with carbon paper onto the ornament. I figured it would just go faster so I could start painting. Once I started tracing, it turned into a big mess. Since the ornament is round it did not transfer well. I ended up erasing all of it and drawing it. It actually turned out a lot better than trying to trace it and took no time at all!


Then I started painting the ornament. I didn't have to worry about all the pencil marks because they burn off when the ornament is fired. I just needed to make sure I did at least 3 layers of paint on the ornament to make sure the color showed up like I wanted it to.


Outlining everything in black was so hard! Well... time consuming. You'll notice that the colors are very light looking right now. After they are fired, they should up a lot darker. Here is the finished ornament after I got it back from Pottery Works. It took about 9 days to get it back.


I found a reeeeeally cute Charlie Brown Tree at Walgreens that I HAD to get to compliment this ornament! I placed it on Paulette's desk to surprise her when she got into work!


Paulette with her ornament and tree! She loved it!

Keep a look out later this week for another project I will be posting!

Happy Holidays!

♥ Emily

Tuesday, November 30, 2010

Recipe Review - Alton Brown's (From Good Eats) Roast Turkey

About a month ago, I came across this recipe for roasting a turkey:

http://www.foodnetwork.com/recipes/alton-brown/good-eats-roast-turkey-recipe/index.html

I showed the recipe to my boyfriend, Will, and he decided to try it this year. We figured it would be worth trying for two reasons:

1) We love the show Good Eats on Food Network. Alton Brown knows what he is doing!

2) When I look at recipes, I look at the ratings. I was impressed that this recipe had over 2,000 reviews (which now is up to over 3,000), and it got 5 out of 5 stars!

Definitely worth trying... and I am SO glad we did!

I love turkey, but every year I always go for the dark meat because the breast is always so dry. Not this year.  The Good Eats turkey was cooked perfectly. It was the most juiciest, delicious turkey breast I have ever put in my mouth! It just melts on your tongue. AMAZING!

So, if you are planning on baking a turkey for Christmas, I HIGHLY recommend this recipe!


Before

After


Good Eats Roast Turkey

Recipe courtesy Alton Brown

Prep Time: 15 min
Inactive Prep Time: 7 hr 0 min
Cook Time: 2 hr 30 min
Level: Easy Serves: 10 to 12 servings

Ingredients

1 (14 to 16 pound) frozen young turkey

For the brine:

1 cup kosher salt
1/2 cup light brown sugar
1 gallon vegetable stock
1 tablespoon black peppercorns
1 1/2 teaspoons allspice berries
1 1/2 teaspoons chopped candied ginger
1 gallon heavily iced water

For the aromatics:

1 red apple, sliced
1/2 onion, sliced
1 cinnamon stick
1 cup water
4 sprigs rosemary
6 leaves sage
Canola oil

Directions

2 to 3 days before roasting:

Begin thawing the turkey in the refrigerator or in a cooler kept at 38 degrees F.

Combine the vegetable stock, salt, brown sugar, peppercorns, allspice berries, and candied ginger in a large stockpot over medium-high heat. Stir occasionally to dissolve solids and bring to a boil. Then remove the brine from the heat, cool to room temperature, and refrigerate.

Early on the day or the night before you'd like to eat:

Combine the brine, water and ice in the 5-gallon bucket. Place the thawed turkey (with innards removed) breast side down in brine. If necessary, weigh down the bird to ensure it is fully immersed, cover, and refrigerate or set in cool area for 8 to 16 hours, turning the bird once half way through brining.

Preheat the oven to 500 degrees F. Remove the bird from brine and rinse inside and out with cold water. Discard the brine.

Place the bird on roasting rack inside a half sheet pan and pat dry with paper towels.

Combine the apple, onion, cinnamon stick, and 1 cup of water in a microwave safe dish and microwave on high for 5 minutes. Add steeped aromatics to the turkey's cavity along with the rosemary and sage. Tuck the wings underneath the bird and coat the skin liberally with canola oil.

Roast the turkey on lowest level of the oven at 500 degrees F for 30 minutes. Insert a probe thermometer into thickest part of the breast and reduce the oven temperature to 350 degrees F. Set the thermometer alarm (if available) to 161 degrees F. A 14 to 16 pound bird should require a total of 2 to 2 1/2 hours of roasting. Let the turkey rest, loosely covered with foil or a large mixing bowl for 15 minutes before carving.


I hope to be posting the ornament from my Christmas ornament giveaway in a week! It's at Pottery Works and should be ready to pick up next week! Most of my projects this month will involve cooking... lots and lots of cooking! Cookies, cakes, etc. Should be fun!

Happy Holidays!

Emily

Monday, November 29, 2010

Ho Ho Ho!


Well Thanksgiving is done, and now it's my favorite time of year! We decorated our Christmas tree yesterday, and I wanted to share it with you!

I bought twinkling lights for the tree!

Will and I decided last year that we would collect ornaments in two ways. We would buy ornaments on any vacation we go on. We have ones from Vegas, Key West and the Bahamas. We also decided that every year we would buy each other an ornament. Last year I received a kermit ornament from him, and I gave him a Ghostbuster ornament. These are the ornaments we exchanged this year!

I LOVE my ornament! Will is so thoughtful!

Will loves the Steelers. This ornament has two of his
favorite players of all time on it!

I hope everyone has a wonderful holiday season! Keep a look out for all the Christmas projects I'll post!


 ♥ Emily

Thursday, November 25, 2010

Happy Thanksgiving! 25 days of Thankfullness!


Happy Thanksgiving everyone! 

In honor of this holiday, I decided to share what I am thankful for with you! Starting November 1st, I started writing out one thing I am thankful for each day up until Thanksgiving day! It helps to remind me how truly blessed I am!

1. My wonderful, amazing, awesome best friend and boyfriend, Will 
Words can't express how blessed I am to have such a great man in my life. I almost feel like it's too good to be true! I have never been this happy! Thank you for loving me and being SO great! I hope you know how wonderful you are! I love you!

2. My dog, Jack, and cat, Kitti
There is something about having pets that brings such a confront... especially with dogs.  Thanks Jack and Kitti for being such loving little critters and for being SO funny!
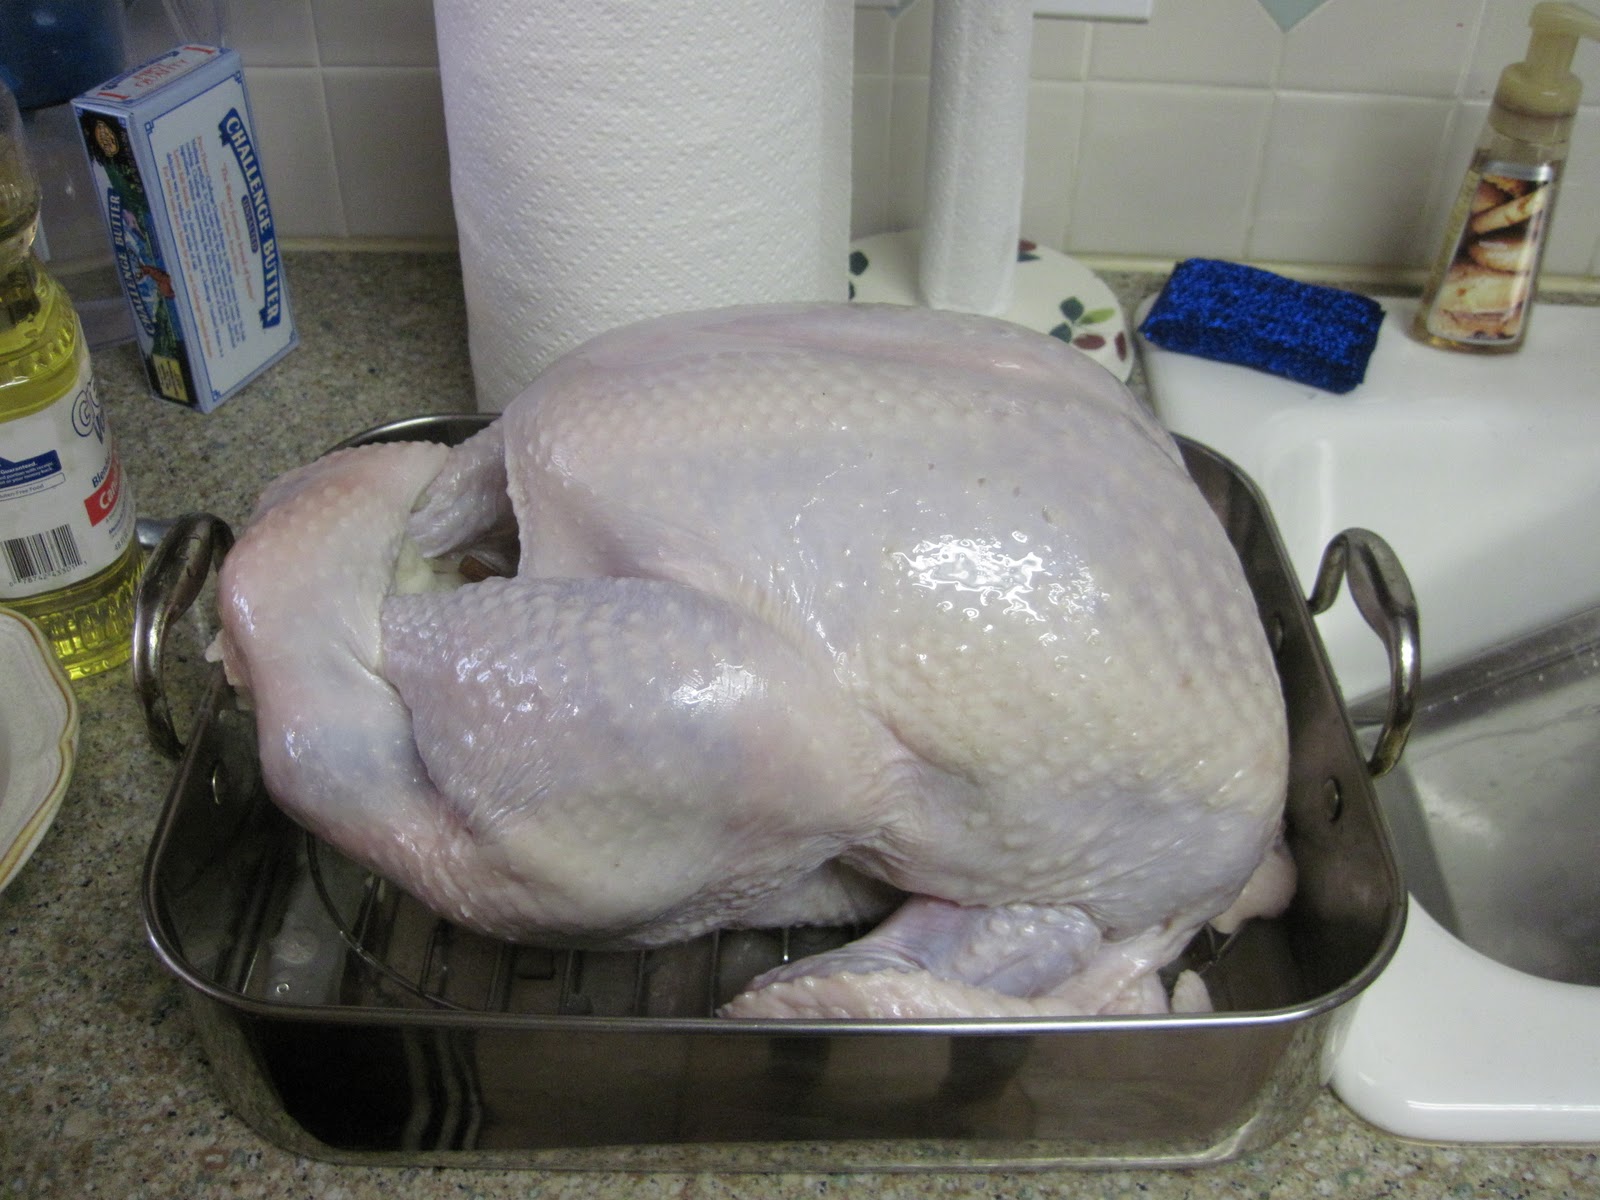
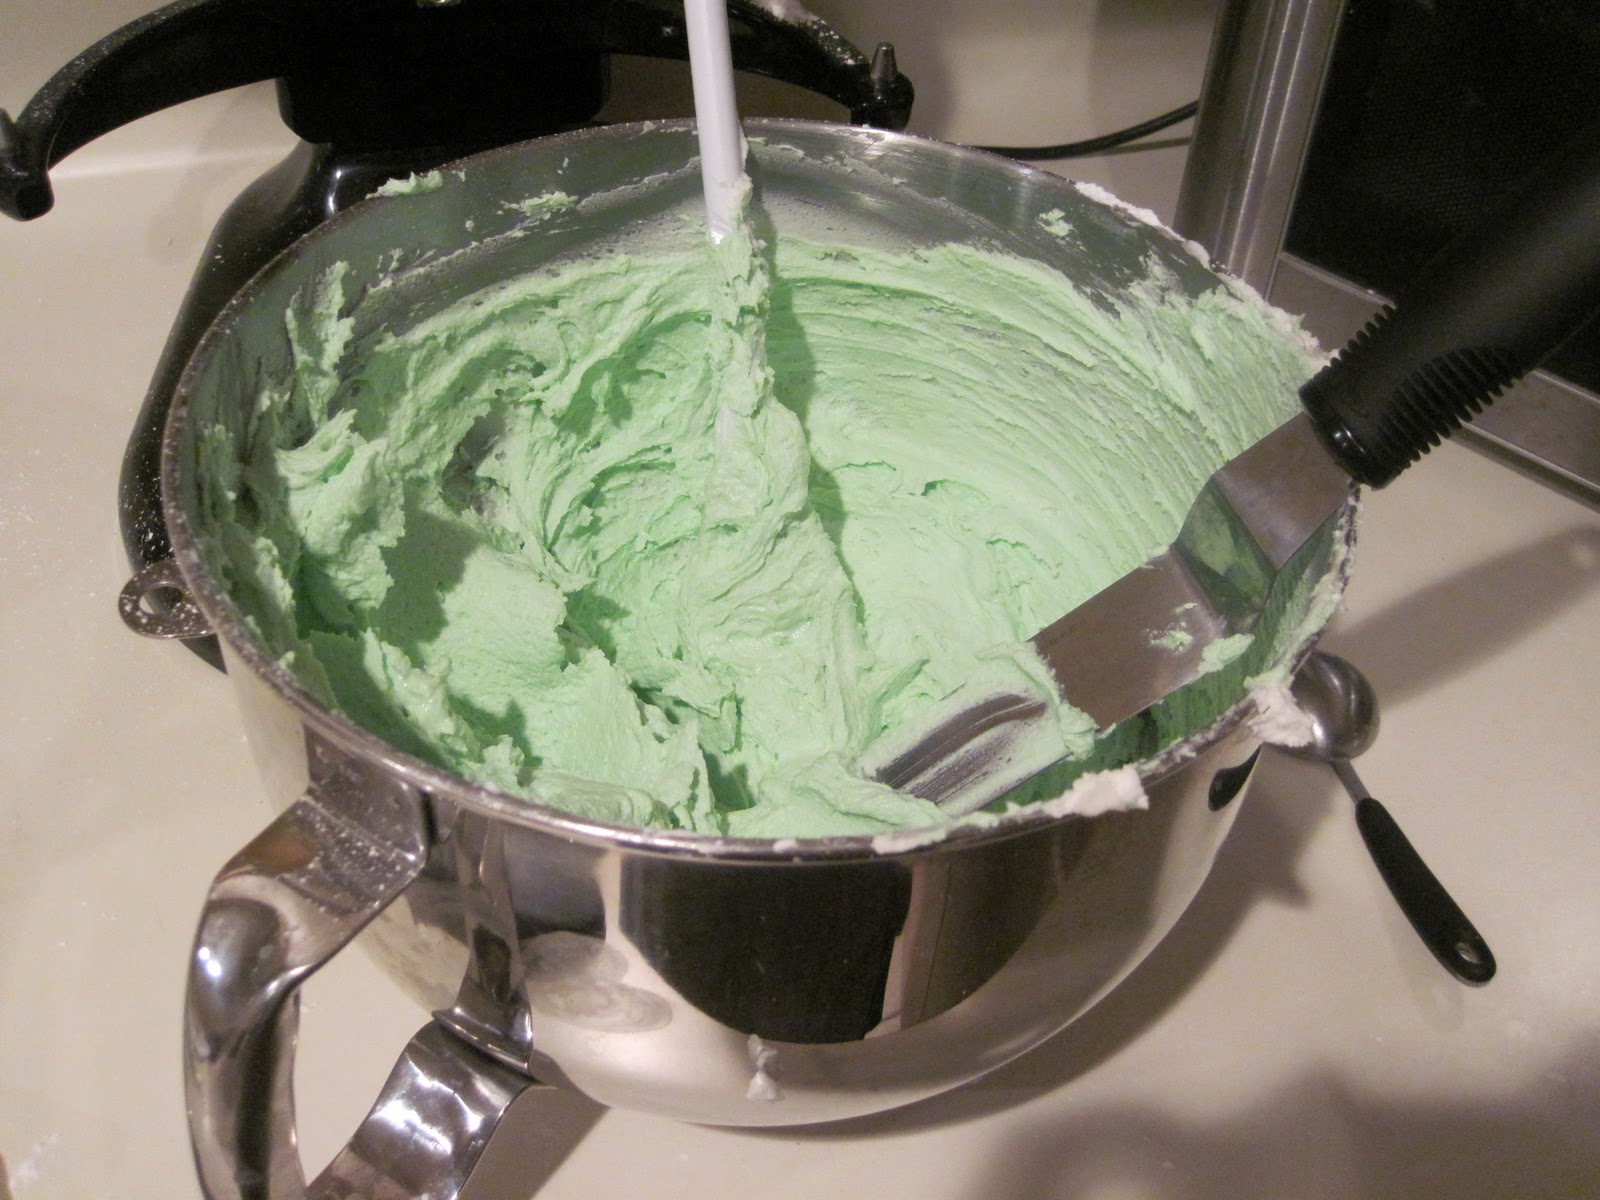
3. Cooking 
Oh food, how I love you. Probably too much. I daydream about you all the time. You make me happy when I am sad.  I love being able to create something so delicious! Thanks for making my belly happy!

4. My Family
I know I will never be alone because I can always rely on my family. Mom, dad, Jamie, Katherine, Maddie and new baby Natalie or Lucas. I love you all very much!

5. My Friends
You are not only my friends. You are my family as well. There are so many of you to name, but I feel I do need to mention a precious few. Kimberly, Monica and Jason. You'll always be in my heart no matter how far apart we are!

6. My Job
I am so thankful for my job and my coworkers. I have always felt very comfortable working there. I feel secure in my position, and that is something that can't often be said nowadays.

7. My House
I am so blessed to have such a great place to live. It's everything I could want in a house! I love the space I get to work with! It definitely feels like home!
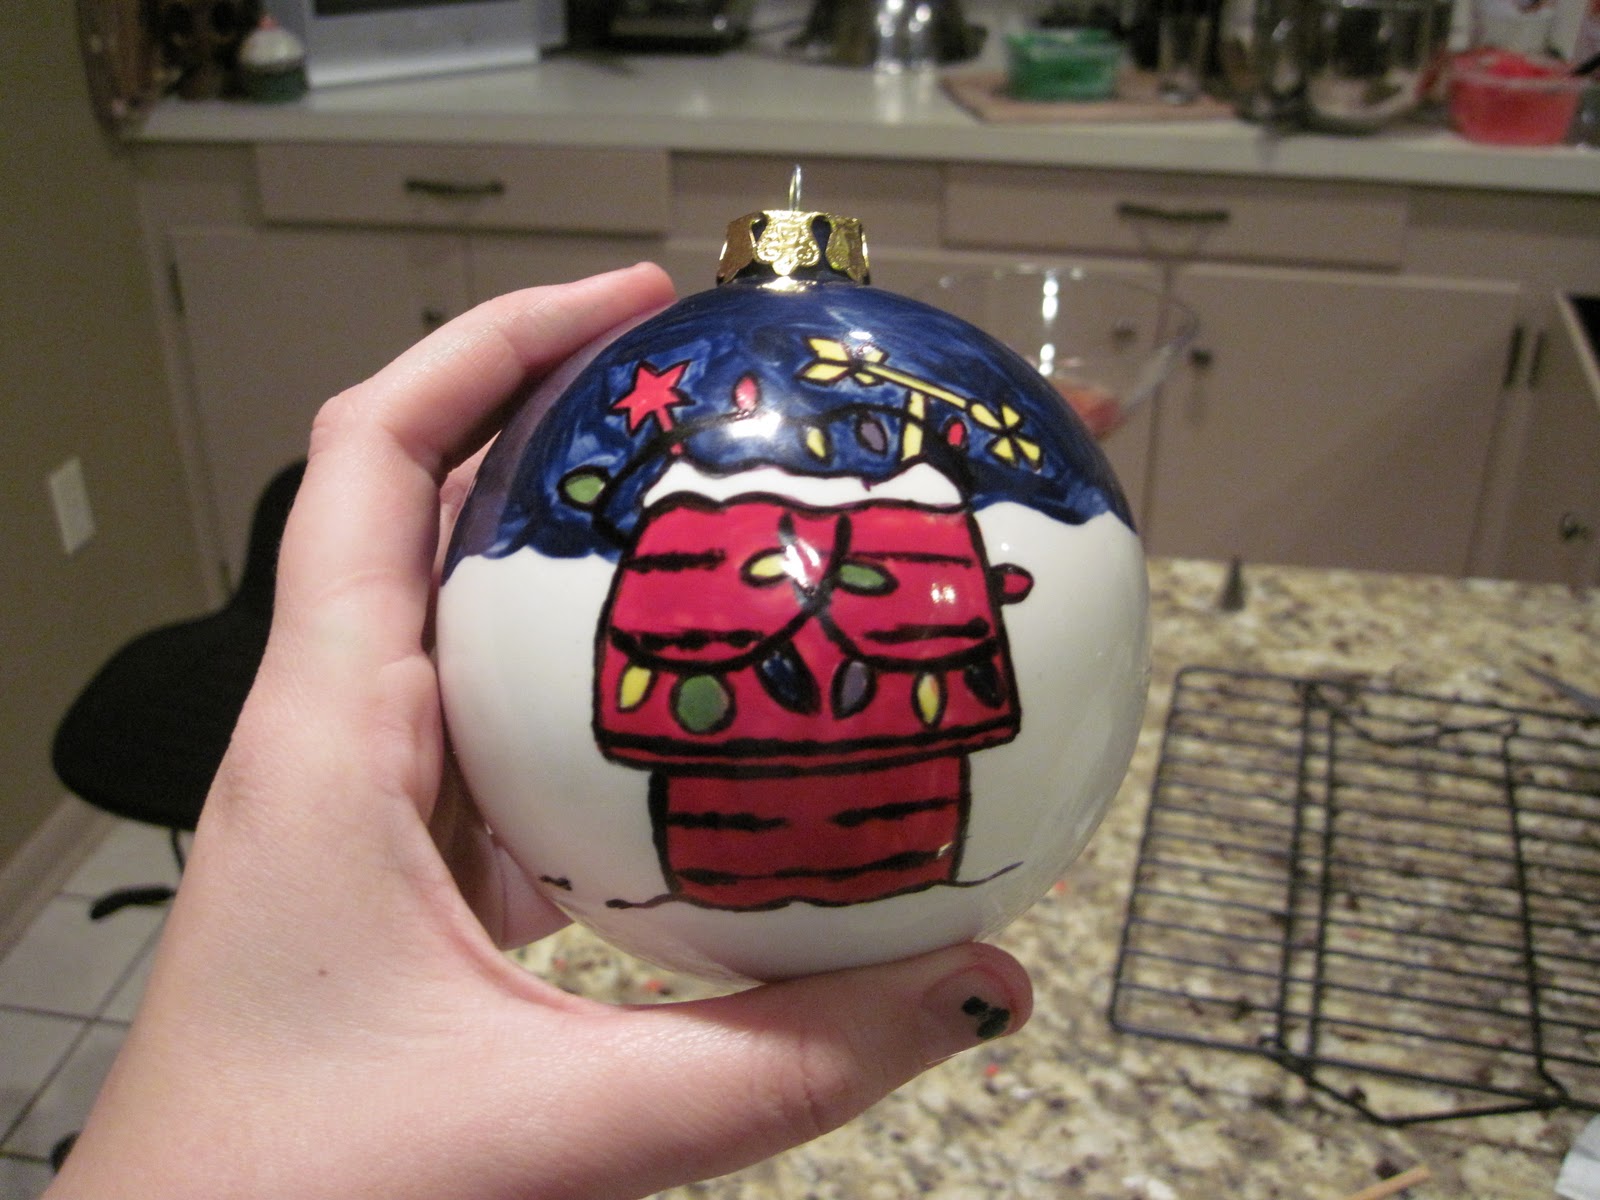
8. My Creativity
I love how I have the ability create things. There is no better feeling than to escape to that creative zone in my head. Cooking, drawing, painting, etc. It brings me such happiness!

9. My Health
I wasn't the healthest, most active child growing up. I was definitely overweight. I lost about 50 pounds since I started college in 2002. I am not only thankful for that, but for my overall health throughout the years.

10. My State 
I am thankful for the rich culture that I grew up in... the rich FOOD culture! MMM!

11. My Blog
It's great to have a place to share with everyone what I am up to! Keeps me accountable as well!

12. Music
Can't live without music. I always have a song to sing. Ask Will... I sing about everything! :)

13. My Mac and my iPhone
Yup... I said it. I am that nerdy!

14. Pictures
I love captured memories!

15. Cool, Fall days
They don't come often here in Louisiana, but when they do, I cherish them.

16. Crawfish
Boiled, stewed, fried... YUM YUM YUM

17. Sleep
It's SO nice!
 
18. The smell of a roux cooking
"Remember, no matter how far you roam, a little scent of a roux in the air will always remind you there's no place like home." -Louisiana Cookin' Magazine

19. The 80's
Music... Movies... best decade ever!! ;)

20. Google
I use you everyday, Google. To shop, to look for ideas, to learn. I can't imagine how people lived without it!

21. Tony's Boudin Balls
Nuff said ;)

22. Diet Coke
I couldn't live without you! :)

23. Our huge jacuzzi bath 
Nothing ends the day better than a nice soak in it!

24. My Past
I've had my ups and downs, but I know they made me into the person I am today. They may not sound as great or tragic as others' experiences, but they have affected me nonetheless. I have learned a lot, and feel like I know who I truly am now.

25. My God
Because none of these blessings, no matter how big or small, that I am so thankful for would be possible if it wasn't for Him. I look at my life and know nothing is coincidence. I look at the sky, the trees, the ocean... I think about how incredibly complicated animals and humans are and know there is no way these could have just popped out of nowhere. There is an Artist out there who created this beautiful life of mine, and I want to thank Him most of all!

So today, look back on your life, and think about what you are most thankful for. And if it's someone in your life, make sure to let them know it!

Happy Thanksgiving Everyone!

 ♥ Emily

Monday, November 22, 2010

Project of the Week: Baby Shower Cake and Diaper Cake


Wow... So... Last week I was MEGA busy preparing for my sister-in-law Katherine's baby shower. I am excited to say that it went very well, and everyone seemed to have a nice time! The theme was baby animals and neutral colors since we won't know the sex of the baby until it is born. I seemed to favor the giraffe though... :)

Well, needless to say, I kind of went over the top with my projects for the shower. They were for Katherine so I had to! :) I am very proud of both of them, especially the cake I decorated. I will start with it first! Warning: This is going to a lot of pictures!

I first started with the bottle. I rolled some rice cripies into a bottle shape

I covered the rice cripies with fondant

Then I colored some fondant to make the top of the bottle

I formed the nipple with a combination of
fondant and gumpaste

I used a strip of blue to make the connection

Then I used some colored fondant to start the giraffe

The body and neck

Attaching the arm with a tootpick


Measuring out the giraffes diaper

I set the giraffe on the bottle and attached the rest of the arms and legs


I formed the head and ear and attached it to the rest of the body.
Then I started adding the giraffes spots.

I added hair down the back

   
And a cute little tail!
Added a flag. Congrats Katherine!!!! :)

I made daffodils out of royal icing

I baked my cake and filled it with strawberry filling

A baby green, neutral icing


Messy :)

Smoothed the icing out and added dowels to support
my heavy giraffe and bottle!

Held up perfectly!

Added a border

Added yellow dots, the flowers and leaves


Katherine cutting the cake

I am very proud of my cake. I can't wait to learn even more about cake decorating!

Now time for my diaper cake. I have seen these before, and knew I had to make one for the shower! Unlike the edible cake, this one was pretty easy to make!

I first started with 100 of these little guys. I used all but 4 I believe.

I rolled them all up and put rubber bands on them

Using a bottle as a base, I started stacking the diapers around
the bottle, using a large rubber band to hold them in place


After I stacked my diapers, I tied yellow ribbon
around each layer.

I added some animal print ribbon to match the theme.
I added some shredded paper to add texture to the layers

My friend Andrea made the giraffe on top of the
diaper cake. I place random little goodies around
the cake to finish it off

Back view
Me with my creations!

Next up... Thanksgiving! And Christmas! Let's see what I am inspired to do this holiday season!

Emily